
In screen printing, the smallest details often make the biggest difference. While printers tend to focus on inks, designs, and machines, the condition of the screen printing mesh quietly determines how successful each print will be. A mesh that looks “good enough” at first glance can still hide dried ink, residue, or clogged openings that negatively affect print quality. Over time, these invisible issues accumulate and begin to show up as inconsistent results on the final product.
Many common printing problems are mistakenly blamed on ink quality or setup errors, when the real cause is an improperly cleaned mesh. Poor ink flow, rough edges, and uneven coverage often stem from buildup left behind after previous jobs. Without a regular and correct cleaning routine, even high-quality screens lose their precision. Understanding how to clean your screen printing mesh properly allows you to prevent these issues before they appear and maintain stable results from one print run to the next.
Proper mesh cleaning is not only about technical accuracy - it also improves workflow and extends the life of your equipment. Clean screens are easier to coat with emulsion, quicker to reclaim, and more reliable during long production runs. By developing a consistent approach to mesh care, printers can reduce downtime, minimize waste, and work with greater confidence. In the sections below, we will explore why mesh cleaning matters, how often it should be done, and which methods help preserve both performance and durability over time.
Why Clean Screen Printing Mesh Matters
Clean screen printing mesh plays a critical role in achieving consistent and predictable print results. Even minor residue left in the mesh openings can interfere with ink flow and stencil performance. Over time, this buildup may not be immediately visible, but it gradually affects how the screen behaves during printing. When mesh is not cleaned properly, small issues tend to compound and lead to larger production problems.
Proper cleaning helps the mesh perform as intended, allowing ink to pass through evenly and designs to remain sharp. It also supports better adhesion of emulsion and reduces the risk of defects appearing mid-run. For printers who work with multiple jobs or change inks frequently, mesh cleanliness becomes even more important, as leftover materials from previous prints can contaminate new designs.
When screen printing mesh is cleaned regularly and correctly, it provides several key benefits:
- smoother and more even ink flow during printing
- sharper edges and improved print detail
- better emulsion bonding and stencil durability
- fewer print errors caused by clogged mesh openings
- longer lifespan of screens and reduced replacement costs
Ignoring mesh cleaning often leads to wasted time, reprints, and unnecessary frustration. By treating mesh care as a core part of the printing process rather than an afterthought, printers create a more stable and efficient workflow from the start.
When to Clean Screen Printing Mesh
Knowing when to clean screen printing mesh is just as important as understanding the cleaning process itself. Mesh maintenance should be treated as a regular part of the workflow, not as a task reserved only for visible problems. Ink residue, emulsion particles, and oils begin affecting mesh performance long before defects appear on the print, which is why timely cleaning plays such a critical role.
If cleaning is delayed, ink and debris have more time to dry and bond to the mesh fibers. This makes removal more difficult and often requires stronger pressure or chemicals, increasing the risk of stretching or damaging the mesh. Over time, repeated late-stage cleaning can weaken the screen and shorten its usable lifespan. Regular, well-timed cleaning keeps the mesh in a stable condition and reduces unnecessary wear.
In general, screen printing mesh should be cleaned at several key moments to maintain optimal performance:
- after finishing a print run, while ink is still fresh and easier to remove
- before reclaiming a screen, to clear away leftover ink and surface debris
- before applying new emulsion, ensuring clean mesh for proper coating and adhesion
- after long-term storage, when dust, oils, or environmental contaminants may have settled
Cleaning at these stages helps prevent buildup from accumulating and eliminates the need for aggressive corrective cleaning later. It also supports a more efficient workflow, as clean screens are easier to inspect, coat, and reuse without unexpected issues.
TIP: Do not wait until print quality visibly declines to clean your mesh. Preventive cleaning saves time, preserves mesh tension, and helps maintain consistent results, especially when screens are used frequently or for detailed designs.
How to Clean Screen Printing Mesh
Cleaning screen printing mesh properly is a structured process rather than a quick rinse. The objective is to restore open mesh areas, remove residue that interferes with ink flow, and prepare the screen for its next use without compromising mesh tension or durability. When cleaning becomes part of a consistent routine, screens behave more predictably and require less corrective work later.
The process should begin as soon as possible after printing. Fresh ink is significantly easier to remove than dried residue, which tends to bond to mesh fibers and settle into openings. Early cleaning reduces the need for aggressive methods and helps preserve the mesh over time. Even when a screen is scheduled for reclaiming, proper initial cleaning makes every following step easier and more effective.
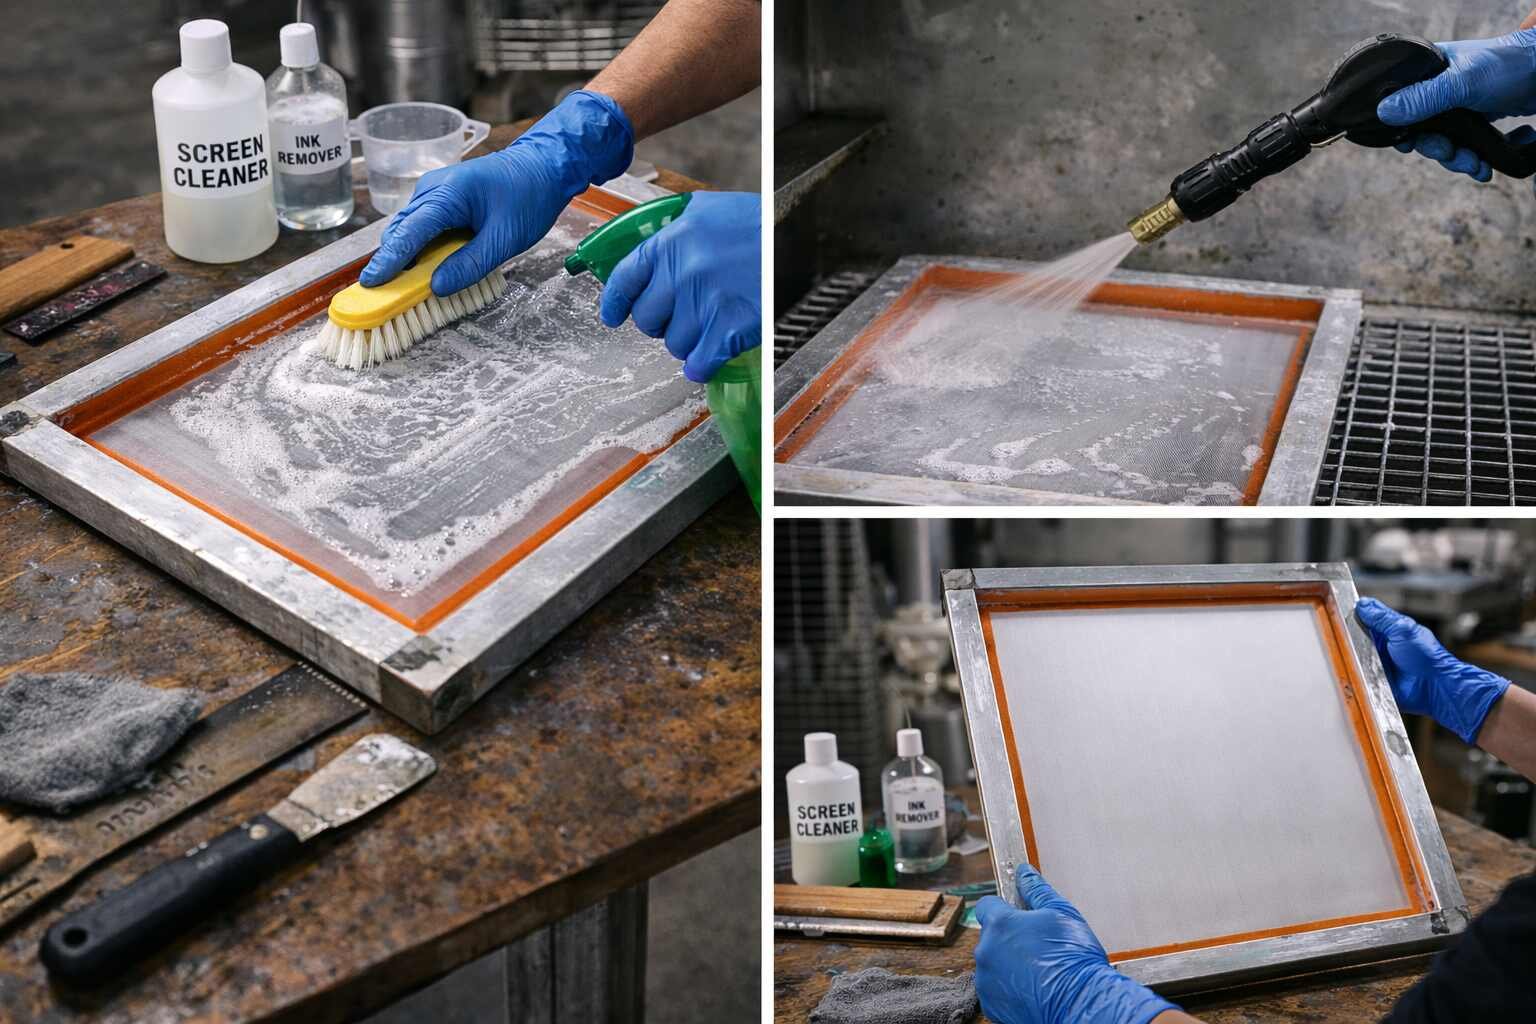
A complete mesh cleaning routine typically includes several clearly defined stages, each with a specific purpose:
| Cleaning stage | Purpose | Result |
|---|---|---|
| Initial ink removal | Loosens and removes surface ink | Prevents ink from drying into mesh |
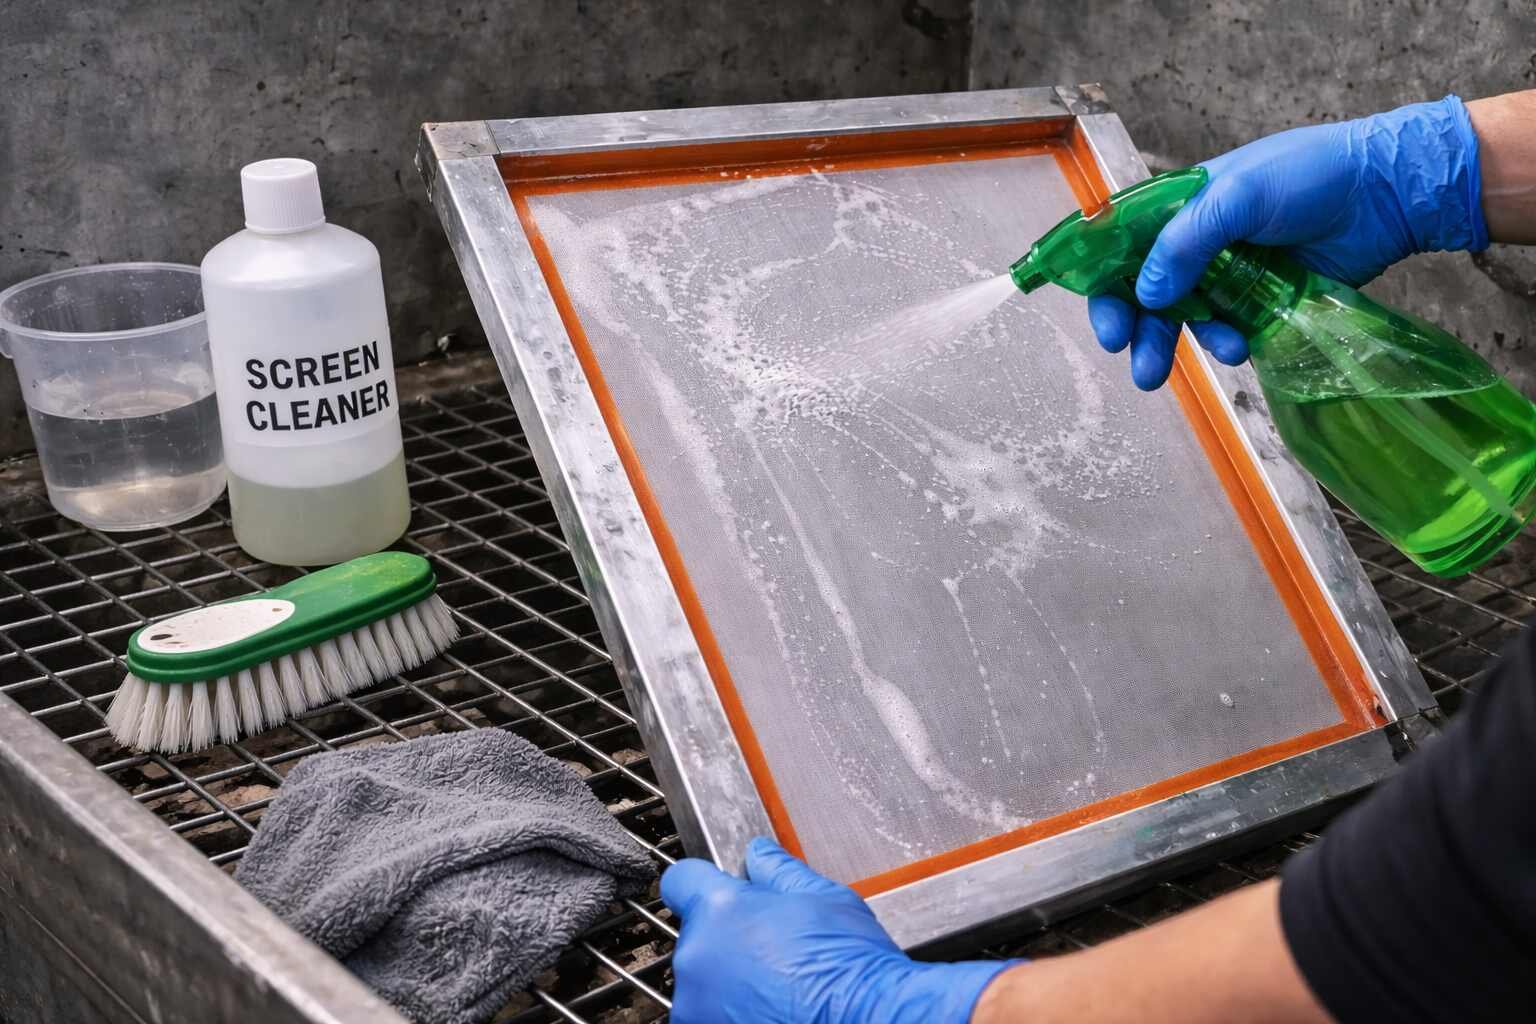
| Mesh cleaning | Breaks down remaining residue and oils | Restores open mesh structure |
| Rinsing | Flushes away loosened particles | Ensures unobstructed mesh openings |
| Drying & inspection | Prepares mesh for reuse or storage | Confirms screen readiness |
Skipping or rushing any of these stages often leads to partial cleaning. Residue that remains trapped in the mesh may not be immediately visible but can interfere with emulsion coating, reduce stencil durability, or cause uneven ink release during printing. Taking the time to complete each step thoroughly creates more reliable results across multiple print cycles.
TIP: After cleaning and rinsing, hold the screen up to a light source. Light should pass evenly through the mesh, making it easier to spot clogged areas or remaining buildup before the screen is reused.
Common Screen Printing Mesh Cleaning Mistakes
Many mesh-related printing issues are not caused by complex technical errors but by small, repeated mistakes during cleaning. These habits often develop over time, especially when printers focus on speed rather than consistency. While the impact may not be noticeable right away, it gradually affects mesh performance and print quality.
One of the most common mistakes is using excessive pressure during cleaning. Pressing too hard can stretch or weaken the mesh, altering tension and reducing its lifespan. Another frequent issue is allowing ink to dry completely before cleaning begins, which makes residue much harder to remove and increases the risk of mesh damage during later attempts.
Other common screen printing mesh cleaning mistakes include:
- skipping thorough rinsing, leaving cleaning residue behind
- handling mesh with bare hands, transferring oils onto the surface
- drying screens in dusty or uncontrolled environments
- reusing screens without proper inspection
- assuming visual cleanliness means the mesh is fully clean
These mistakes often lead to subtle problems such as poor emulsion adhesion, clogged openings, or inconsistent ink flow. Over time, they can also increase downtime, as screens require more frequent re-cleaning or replacement.
Avoiding these issues does not require advanced techniques, only awareness and consistency. Treating mesh cleaning as a careful maintenance process rather than a rushed task helps preserve screen quality and supports smoother printing sessions in the long term.
Cleaning vs Degreasing Screen Printing Mesh
Cleaning and degreasing screen printing mesh are often confused, but they serve different purposes and are both important for proper screen preparation. Cleaning focuses on removing visible ink residue and surface contaminants, while degreasing targets invisible oils, dust, and residues that can interfere with emulsion adhesion.
Many printers assume that if a mesh looks clean, it is ready for coating. In reality, even freshly cleaned screens can still carry oils from handling, water residue, or cleaning products. Degreasing ensures that the mesh surface is uniformly clean at a microscopic level, creating the right conditions for emulsion to bond evenly and reliably.
Understanding the difference helps avoid common preparation issues:
- cleaning removes ink and debris left from printing
- degreasing removes oils, residues, and contaminants not visible to the eye
- cleaning prepares the mesh structurally
- degreasing prepares the mesh chemically for emulsion
Both steps work together as part of a complete workflow. Skipping degreasing often results in poor stencil adhesion, fisheyes in emulsion, or premature stencil breakdown during printing.
TIP: Degreasing should be done after cleaning and before coating emulsion. Performing it too early or skipping it entirely can compromise even a well-cleaned mesh.
How Clean Mesh Improves Print Results
Properly cleaned screen printing mesh has a direct and noticeable impact on print quality. When mesh openings are clear and free from residue, ink flows more evenly through the screen, resulting in sharper details and more consistent coverage. Clean mesh also allows the stencil to perform as designed, without unexpected blockages or weak spots.
Over time, printers who maintain clean mesh experience fewer interruptions during production. Screens require less adjustment, prints stay consistent across runs, and troubleshooting becomes far easier. Instead of reacting to defects, printers can focus on refining designs and improving efficiency.
Consistently clean mesh contributes to better results in several ways:
- smoother and more predictable ink flow
- sharper print edges and cleaner detail
- stronger and longer-lasting stencils
- reduced risk of pinholes and clogging
- more consistent results across multiple prints
Clean mesh also improves confidence during printing. When screens are properly maintained, printers spend less time correcting issues and more time producing reliable work. This foundation of consistency is what allows both beginners and experienced printers to achieve professional results over time.
Final Thoughts on Cleaning Screen Printing Mesh
Cleaning screen printing mesh properly is one of those practices that quietly supports every successful print. While it may not be the most exciting part of the process, it consistently proves to be one of the most important. Clean mesh creates the conditions for smooth ink flow, stable stencils, and predictable results, all of which contribute to a more efficient and enjoyable printing experience.
Developing a regular cleaning routine helps prevent many common issues before they arise. Instead of reacting to clogged mesh, uneven prints, or premature screen wear, printers who prioritize mesh care work in a more controlled and confident way. Over time, this attention to detail reduces waste, saves time, and extends the life of screens.
Ultimately, proper mesh cleaning is less about perfection and more about consistency. When cleaning becomes a natural part of the workflow rather than a last-minute fix, screen printing becomes more reliable and less stressful. By understanding when and how to clean your mesh, you create a solid foundation for better prints and long-term success in screen printing.
Leave a Comment