
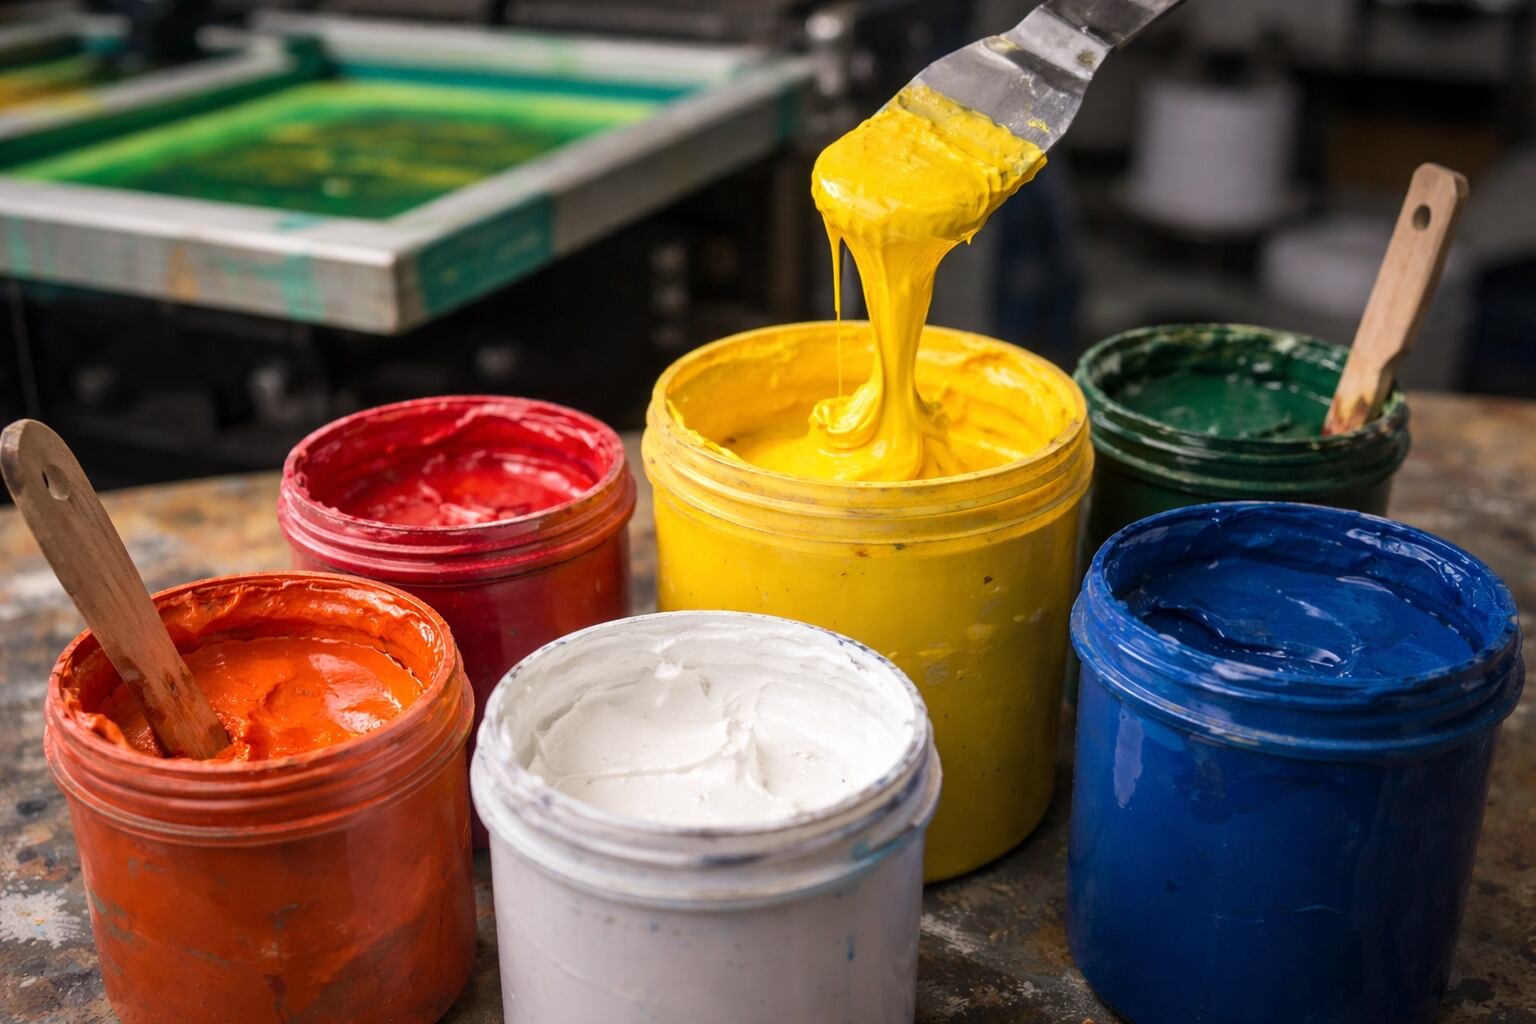
Plastisol ink remains one of the most widely used inks in screen printing, especially in apparel production. Its popularity comes from reliability, vibrant color output, and long-lasting results on a wide range of fabrics. For beginners and experienced printers alike, understanding how plastisol ink behaves on press is essential for achieving consistent and professional-looking prints.
Unlike water based inks, plastisol does not dry through evaporation. Instead, it requires heat to cure properly and bond with the fabric. This difference often creates confusion for newcomers, as prints may appear dry on the surface while remaining uncured underneath. Learning how to screen print with plastisol ink involves more than just pushing ink through the screen-it requires the right setup, correct technique, and an understanding of how curing affects final print quality.
This guide is designed to walk you through the full plastisol screen printing process in a clear and practical way. From preparing your screen and selecting the right mesh to printing techniques and curing basics, you’ll gain a solid foundation that helps avoid common mistakes. Whether you are setting up a small workshop or improving your current workflow, mastering plastisol ink printing starts with understanding the fundamentals.
What Is Plastisol Ink and Why Is It Used
Plastisol ink is a PVC-based ink that sits on top of the fabric rather than soaking into it. This characteristic makes it especially popular in commercial screen printing, where consistency, color brightness, and durability are critical. Because plastisol does not air-dry, printers have more working time on the press, which is useful for longer print runs and detailed designs.
One of the main reasons plastisol ink is so widely used is its versatility. It performs well on different fabric types, including cotton, blends, and many synthetic materials. In addition, plastisol inks are forgiving during the printing process, making them a common choice for beginners who are still learning to control pressure, ink flow, and registration.
Key features that make plastisol ink popular include:
- strong opacity and vibrant colors
- long open time on the screen without drying
- excellent durability after proper curing
- suitability for high-volume production
- compatibility with a wide range of additives
Understanding what plastisol ink is and how it behaves on fabric helps set realistic expectations before printing. This foundation makes it easier to choose the right setup and avoid issues later in the process.
Screen Setup for Plastisol Printing
Proper screen setup plays a major role in how well plastisol ink prints and cures. Because plastisol is thicker than water-based ink, mesh selection and stencil quality directly affect ink deposit and print clarity. A well-prepared screen allows ink to transfer evenly without excessive pressure.
Most plastisol printing setups use medium mesh counts that balance detail and ink coverage. Lower mesh counts allow more ink to pass through, which is helpful for bold designs, while higher mesh counts are better suited for finer details and smoother prints. Equally important is stencil thickness, as it controls how much ink sits on the garment.
Basic steps for preparing a screen for plastisol printing:
- Degrease the mesh to remove dust and oils
- Coat the screen evenly with emulsion
- Expose the screen according to emulsion guidelines
- Wash out the image cleanly and let it dry fully
- Inspect the stencil for pinholes or weak areas
Taking time to prepare the screen correctly reduces printing issues such as uneven coverage, excessive ink buildup, or loss of detail. A solid screen setup creates a stable base for the printing and curing stages that follow.
Printing Technique with Plastisol Ink
Once the screen is prepared and set on press, printing with plastisol ink becomes a matter of control and consistency. Plastisol is thicker than water based ink, so proper squeegee angle, pressure, and stroke all play a role in how the ink transfers through the mesh and onto the garment. The goal is to deposit an even layer of ink without forcing it too deeply into the fabric.
A common approach is to start with a flood stroke to fill the stencil openings with ink, followed by a print stroke that pushes the ink through the mesh. Maintaining a steady angle and moderate pressure helps achieve clean edges and uniform coverage. Too much pressure can distort the stencil or push excess ink into the fabric, while too little pressure may result in patchy prints.
Key points to focus on during the printing stage include:
- keeping a consistent squeegee angle throughout the stroke
- using even pressure from start to finish
- ensuring proper off-contact between screen and garment
- avoiding excessive passes that build too much ink
- checking prints regularly for consistency
Developing a repeatable printing technique helps reduce variations between garments and makes the curing stage more predictable.
Curing Plastisol Ink Properly
Curing is the step that permanently bonds plastisol ink to the fabric. Unlike water based inks, plastisol does not dry on its own and must reach a specific temperature to cure fully. If this step is rushed or done incorrectly, prints may crack, peel, or wash out over time, even if they initially look finished.
Plastisol ink typically cures when it reaches the manufacturer’s recommended temperature across the entire ink layer. This means the ink must not only get hot enough but also stay at that temperature long enough to cure evenly. Common curing tools include conveyor dryers, flash dryers, and heat presses, each offering different levels of control.
Successful curing depends on several factors:
- consistent heat across the printed area
- sufficient dwell time under heat
- proper ink thickness
- allowing the garment to cool naturally after curing
A simple stretch test after curing can help confirm whether the ink has bonded correctly. When plastisol ink is cured properly, it stretches with the fabric and returns to shape without cracking. Mastering this step ensures that prints remain durable and professional throughout their lifespan.
Common Mistakes When Printing with Plastisol Ink
Even though plastisol ink is considered forgiving, many print issues come from small mistakes made during setup, printing, or curing. These problems often don’t appear immediately and only become noticeable after washing or regular wear. Understanding common errors helps prevent reprints, wasted garments, and inconsistent results.
One frequent mistake is applying too much ink in an attempt to improve opacity. While plastisol is naturally opaque, excessive ink buildup can cause heavy prints, poor stretch, and curing difficulties. Another issue is improper off-contact, which can lead to smudging, uneven edges, or incomplete ink transfer.
Other common plastisol printing mistakes include:
- using the wrong mesh count for the design
- applying uneven or excessive squeegee pressure
- under-curing due to incorrect temperature or dwell time
- over-flashing between colors, causing adhesion issues
- stacking garments before they fully cool
Being mindful of these issues and checking prints throughout production allows you to correct problems early. Small adjustments often make a significant difference in overall print quality.
Final Thoughts on Screen Printing with Plastisol Ink
Screen printing with plastisol ink remains a reliable and versatile method for producing durable, high-quality prints. Its forgiving nature, long open time, and strong color performance make it an excellent choice for both beginners and experienced printers. When paired with proper screen setup, controlled printing technique, and correct curing, plastisol delivers consistent results across a wide range of projects.
Success with plastisol ink comes from understanding the full process rather than focusing on a single step. Screen preparation, ink deposit, and curing all work together to determine how a print performs over time. Paying attention to each stage reduces errors and builds confidence on press.
With practice and a structured approach, plastisol screen printing becomes predictable and efficient. By mastering the fundamentals and avoiding common mistakes, printers can create professional results that look great, last longer, and meet the expectations of everyday wear.
1 Comment(s)
Plastisol ink basics explained pretty clear here, this part about it not air drying is exactly what messed me up when i started. I remember thinking print looks dry then after wash it cracks, curing was the real issue. The screen setup and mesh count tips are useful too, people always skip that and blame the ink. Overall feels accurate from my own trial and error, especially about not overloading ink and doing stretch test after cure.
Leave a Comment